How to install handrail brackets
How to install handrail brackets
Handrails provide support and stability to people going up or down stairs. Stairs that are less than 1 metre wide and have more than four steps should have handrails on at least one side. In case stairs are wider than this measurement, they should have a handrail on both sides. Handrail brackets are used to secure a handrail to the wall. But, how many brackets do you need for a handrail? How far apart should handrail brackets be? These are all great questions. Today, we are answering some of the most frequently asked questions about handrail brackets and will also explain how to install handrail brackets.
Where to buy handrail brackets?
At Ironmongery Experts, we stock a variety of handrail brackets, also known as railing brackets, bannister brackets or stair handrail brackets. Whether you are searching for handrail brackets for wood rails or for specific handrail bracket finishes, such as antique brass handrail brackets or handrail brackets in black – you will find the bracket of your needs at our online shop. You might have moved to a new home and the brackets on the bannister are old, worn and are barely holding the rail. You might simply want to decorate your home and thought that starting by changing out the brackets would be a good idea. Either way, our team is here to help. Any handrail bracket-related questions you might have, we will answer them today.
How to choose rail brackets?
With the overwhelming variety of rail brackets available in the market, it can be difficult to choose the right bracket for your handrail. To make it easier to pick the perfect bracket, we’ve divided brackets into two main sections: purpose and finish.
By purpose
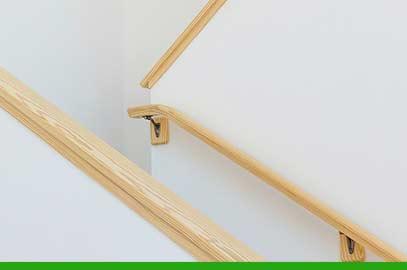
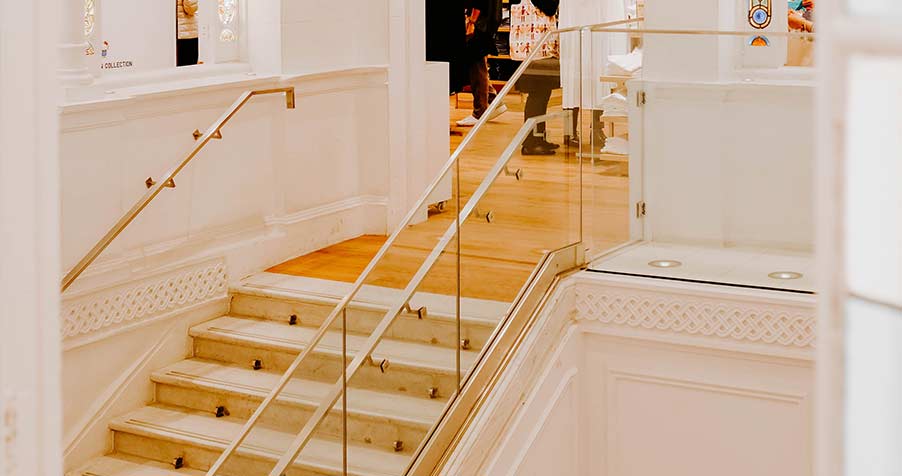
Do you need handrail brackets for glass or for wooden rails? Think about the purpose of your handrail brackets and that should narrow down your choices.
By finish
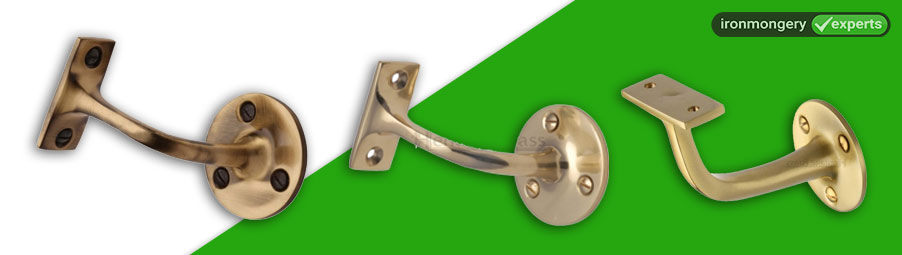
Once you’ve figured out the purpose of your rail brackets, it’s time to consider the finish. It might seem like a minimal choice but choosing the right bracket finish will be essential for the overall look of your handrail. Would you choose a brass bracket if you have a steel rail? Probably not. Go for a finish that will perfectly suit your handrail. You can choose cool finishes, such as stainless steel and chrome; warm finishes, such as antique brass; and neutral finishes, such as black.
Cool finishes.
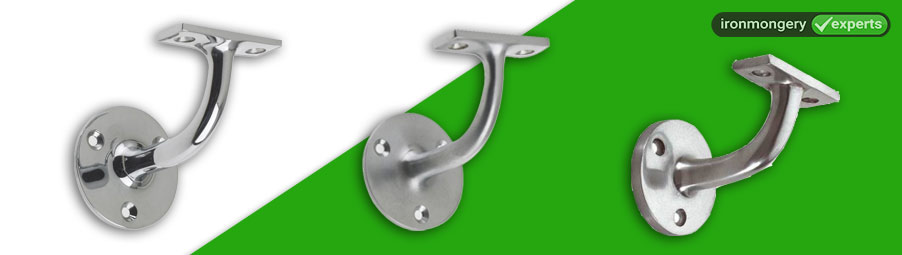
Warm finishes.
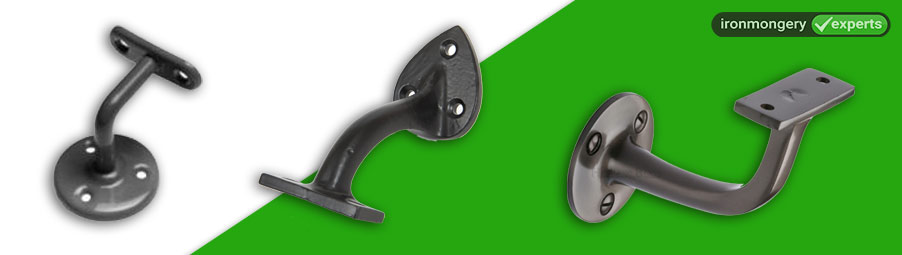
Neutral finishes.
How far apart should handrail brackets be?
The distance between brackets will vary depending on the length of the chosen handrail – you should aim to have the brackets spaced evenly.
How many brackets do you need for a handrail?
When installing a handrail, you will require one handrail bracket at the top and another at the bottom of the rail. Extra brackets should also be installed in between the two main ones, normally spaced 48 inches apart (32 inches for round and oval handrails).
How to install handrail brackets?
Whether you need help installing new handrail brackets or replacing old brackets, we have put together this simple guide that will help you do both.
Materials required
- Tape measure
- Stud finder
- Pencil
- Tape
- Handrail brackets (we’d recommend our best-selling Marcus Heritage Antique Brass Handrail Bracket)
- Handrail
- Screws
- Level
- Drill
- Screwdriver
Step 1. Firstly, measure from the bottom stair nose to the top stair nose as the handrail will need to run the entire length of the stairs. In case you already have the ideal handrail, skip this step.
Step 2. With a stud finder, find the studs in the wall and mark them with tape or with a pencil. Handrail brackets should be secured to the studs and not to drywall anchors (these are not strong enough).
Step 3. After marking each stud, hold the brackets over the marked spot and use a pencil to mark inside the screw holes. Then, use the level to ensure the marks are straight. Once you have the right position and height of the bracket, drill holes in the marks where you’ve used a pencil and start to attach them loosely to the wall with one screw.
Step 4. Place the handrail on the brackets to make sure the angle is perfect, and then securely tighten the brackets to the wall with the rest of the screws.
Step 5. Finally, attach the handrail to the brackets. Drill holes into the handrail for the bracket screws and then, fasten the screws so the brackets are secured to the rail – and you’re done!
Hope you’ve enjoyed this guide from Ironmongery Experts. If you have any enquiries regarding ironmongery products, please feel free to give our team a call on 01376 557 561. Alternatively, contact us at info@ironmongeryexperts.co.uk.
Disclaimer
At Ironmongery Experts we strongly advise that you always take safety precautions into consideration when undertaking a DIY project. We also strongly suggest that you closely read and follow the instructions provided by the manufacturer of any building materials, products or tools you use for your projects.
We try our best to provide clear and correct instructions within our articles, so you can easily complete any DIY project you desire. However, please note that the information we provide should only be used as a guideline and that some information within the text may not be entirely accurate.
When using our articles for information and advice, please note that is your own responsibility to determine your capabilities when undertaking and executing the task you wish to complete.
Before starting a DIY task, we strongly recommend that you educate yourself of any existing building, gas, water and electrical works regulations. We believe it is in your best interest to complete further research and/or contact the necessary professional body should you have any further concerns.
We also strongly recommend that a qualified tradesperson completes the relevant safety tests and checks on any DIY you have completed.